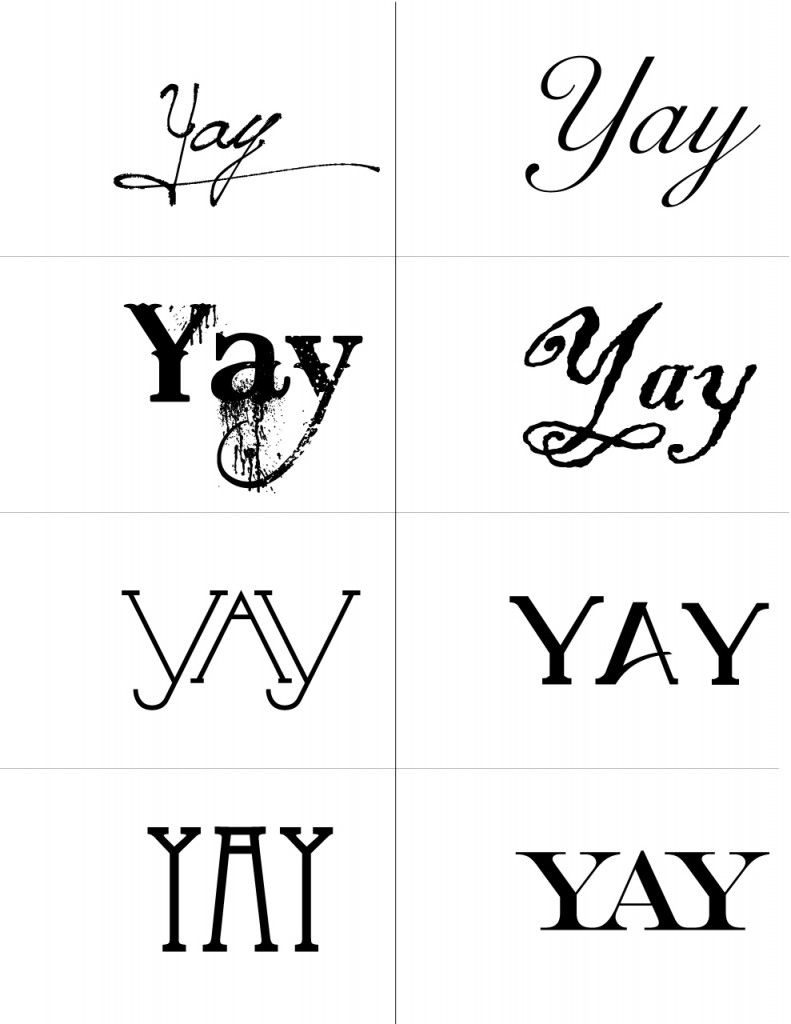
I made these “Yay” flags for our wedding, intending for people to wave them for us as we walked away after the ceremony. They ended up being such an integral part of the evening, with everyone waving and shouting “YAY” every time we walked by! And since I added our names and the date to the back of them, they also served as the only favor we had for our guests. It is a quick and easy project — I hope you enjoy it!
Materials
- Wooden dowels – I used 1/8″ diameter dowels.
- Construction paper – I used some old, sun faded construction paper in warm tones to go with the color scheme for the wedding.
- Some way to help you layout your design, computer or otherwise – I used Photoshop, but you could essentially use any program you are comfortable with.
- Craft glue
- Sewing machine set with a zipper foot

Step 1:
Cut dowels to desired length. I started with 36″ long dowels and needed 100 flags for our ceremony. So, I bought 25 dowels, cut them evenly into 9″ lengths, and ended up with 100 exactly. I used a pair of wire cutters to cut them, which was very easy to do, and left a minor crunched edge to the ends- but no splintered or messy edges. For a cleaner look, you can saw them.

Step 2:
Layout your design. I organized the page in 2 columns of 3 boxes to get a total of 6 flags per page. I added the text to each box, as well as crop marks to make cutting easier. Write your “yay” text (or “woot”, “yippie”, etc..) to fit into each box nicely, and justify toward the right. I chose six different fonts to write “Yay” in.
 Fabric fortune cookie favors
Brassy Apple's tutorial is simple yet will have the “oohh” impact. The look could vary based on your theme and your fabric, and who says... Read more
Step 3:
If you wish, make another page for the text on the back. Ours has our names and the date of the wedding. Use the same template as the front, and this time justify your text to the left so it doesn't interfere with the edge you are going to sew.

Step 4:
Print your pages and cut your flags along your crop marks. I used a paper cutter and actually cut off the crop marks so they wouldn't be seen.
Step 5:
At this point, set up everything in front of you to streamline your assembly: sewing machine, dowels, glue and flags.
Step 6:
Take a dowel and one of your flags. Place the flag, “Yay” side down, at the top edge of your dowel. With your thumbs, curl the edge around the dowel, leaving about .5″ past the dowel. This will leave you with enough room to sew.

Step 7:
Put a dab or two of glue on the dowel and place into the fold you just made with your thumbs. Place directly onto your sewing machine and stitch down the length of your flag. The zipper foot will allow you to sew right along the edge of the dowel. When your are finished sewing the length, trim the threads close to the paper.. and voila! You have your first “Yay” flag.


