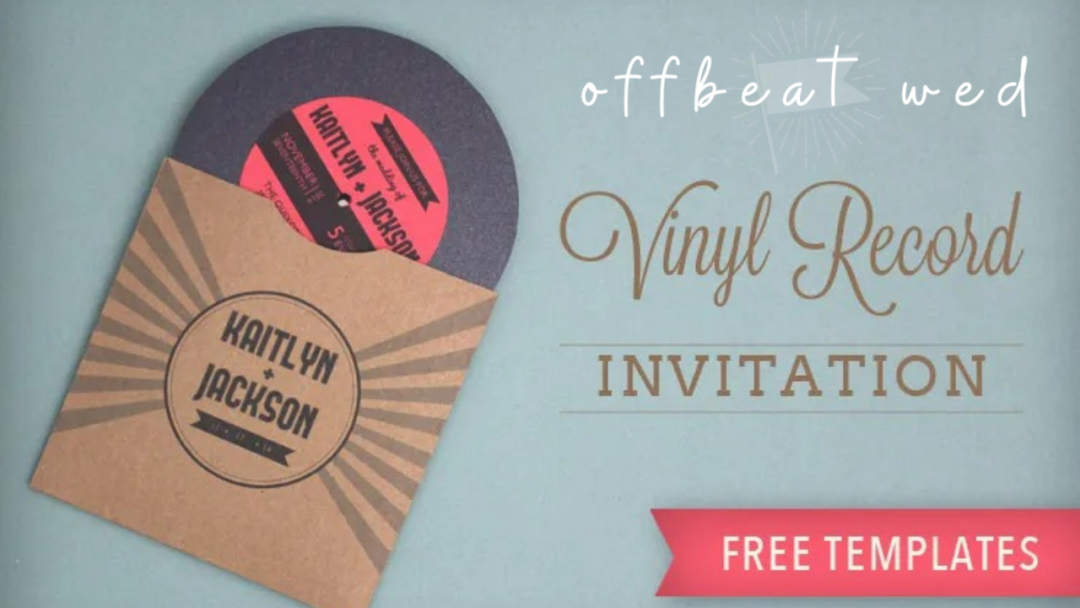
If you want your big day to be a “solid gold hit,” we have just the invitation for you. Check out this vinyl record invitation. “Side one” uses fun retro type for your names plus date and location details, then flip the record over to “side two” for details about the reception. The record sleeve, inspired by a 1979 Van Halen design, has your names on the front and RSVP and event details on the back.
If you and your partner are music purists and have a shelf loaded with vinyl, then be sure to grab the free template downloads and follow along with the photo tutorial below to create this fun invitation at home. Note that you can make this invite in any color scheme by simply selecting different color paper to print on.
Supplies:
- FREE TEMPLATE
You can grab a link to the files by clicking here - Printer (or get photocopies)
- Scissors
- Double sided tape
- Two colors of card stock (I used brown kraft and razzle pink)
- Metallic black card stock (faux vinyl record)
- Martha Stewart Circle Cutter (optional, saves time)
- Circle Punch (I used 2.5″ but you could use any radius)
- Making Memories Instant Hole Setter
- Fine tip silver paint pen (optional)
- 5.5″ square envelope
The Template:
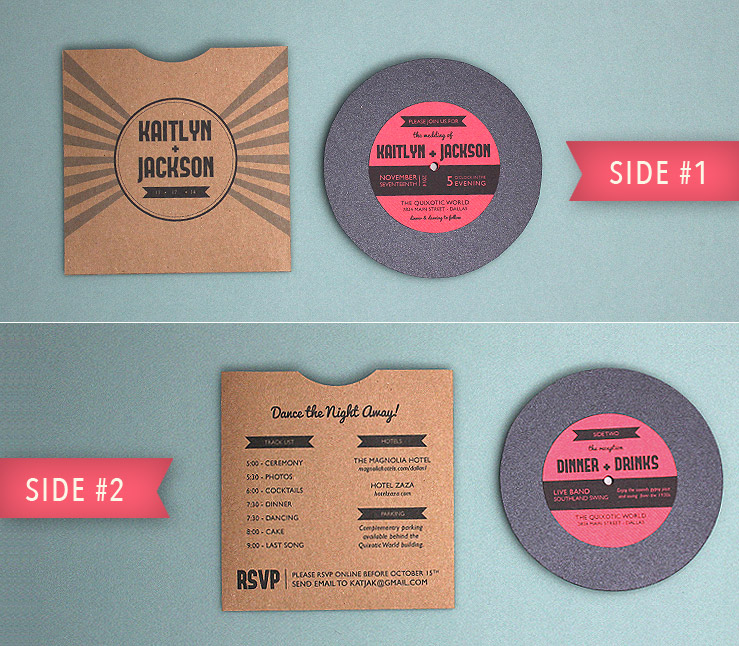
How to use the free templates to make your own DIY vinyl record wedding invitations:
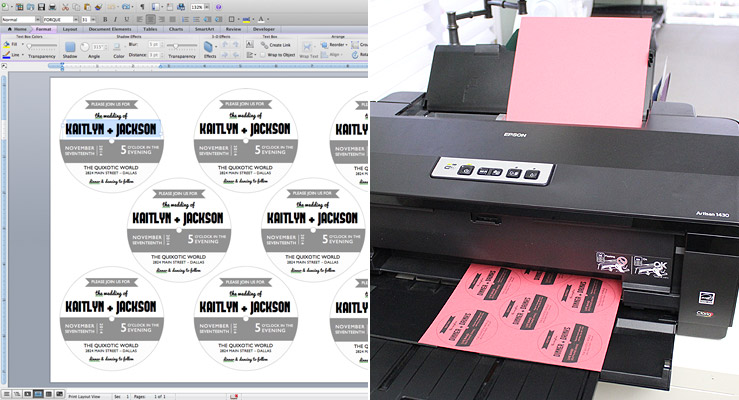
Step 1: Download, edit, and print
Download the template file here.
TIP: Before committing to print all your invitations, print one copy of each file and check for spelling errors, correct dates, layout, and grammar. Have a second set of eyes check over your work. Check twice, print once!
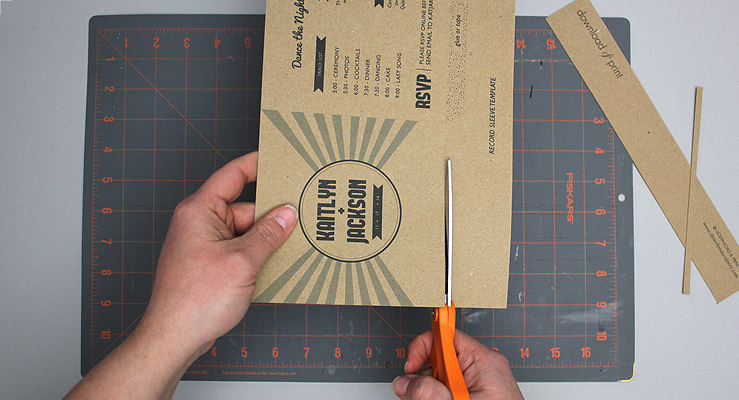
Step 2: Trim the sleeve
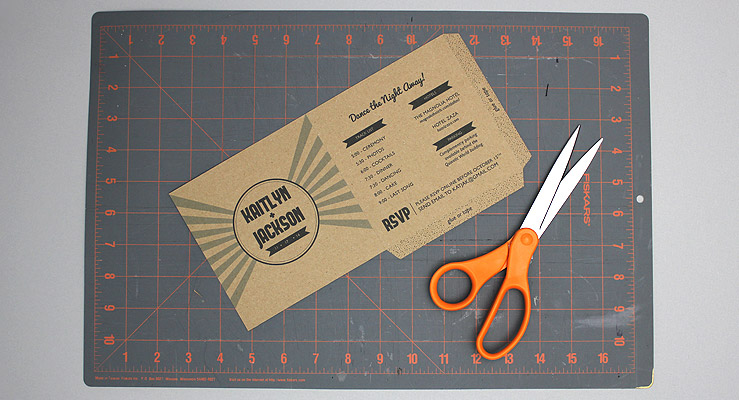
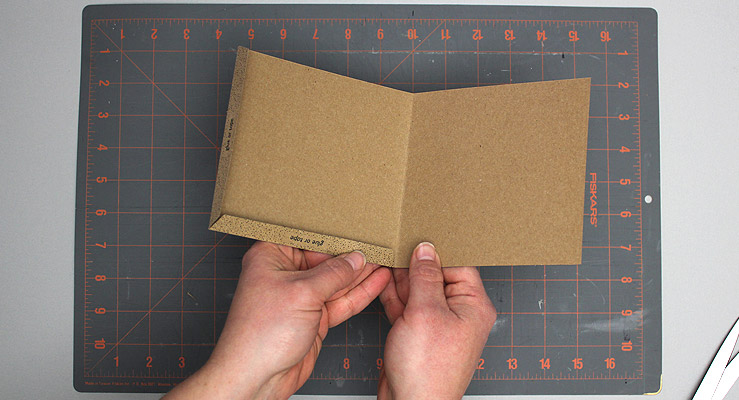
Cut out the sleeves along the trim lines. Score the sleeve down the center line and along the flap lines using a scoring tool or the back of an X-acto knife. Be careful not to accidentally cut through! This will help produce a nice, crisp edge. Fold the sleeve in half, design side out, and the flaps in.
Step 3: Tape the sleeve
Apply a strip of double sided tape to each flap and fold the sleeve in half, pressing down firmly with the heel of your hand to secure in place. A glue stick will also do the trick, but is a little messier.
 Check out these library card Save the Dates
Check out FolkFusionista's library card Save the Dates! They are pretty perfect, seeing as her future husband "J" is a Librarian and they are both... Read more
Step 4: Notch the sleeve
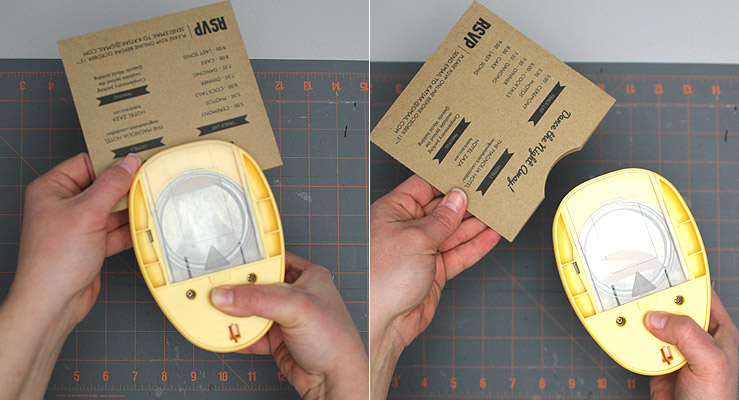
Take a notch out of the top of the sleeve with a circle punch (much faster), or plain old scissors. Or skip this step if you are out of time or out of patience.
Step 5: Cut records
You have two choices in cutting the records.
Option 1:
Grab the record template included in the printable files. Cut out the circles and punch a hole in the center using your Instant Hole Setter. Use this paper template to trace onto your black card. Don't forget to mark the center hole. Cut out the black circles and punch the center holes using the hole setter.
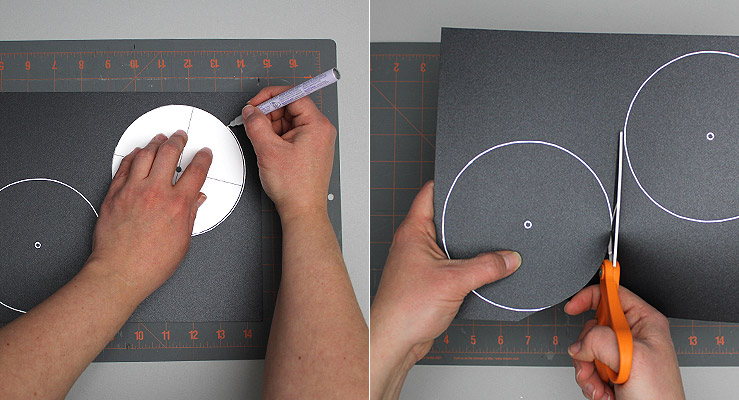
TIP: The trick to cutting smooth circles with scissors is to use long sweeping strokes with the entire length of the blade. Don't make little snips as your circle will end up with many edges. Hold the scissors still, and move the card.
Option 2:
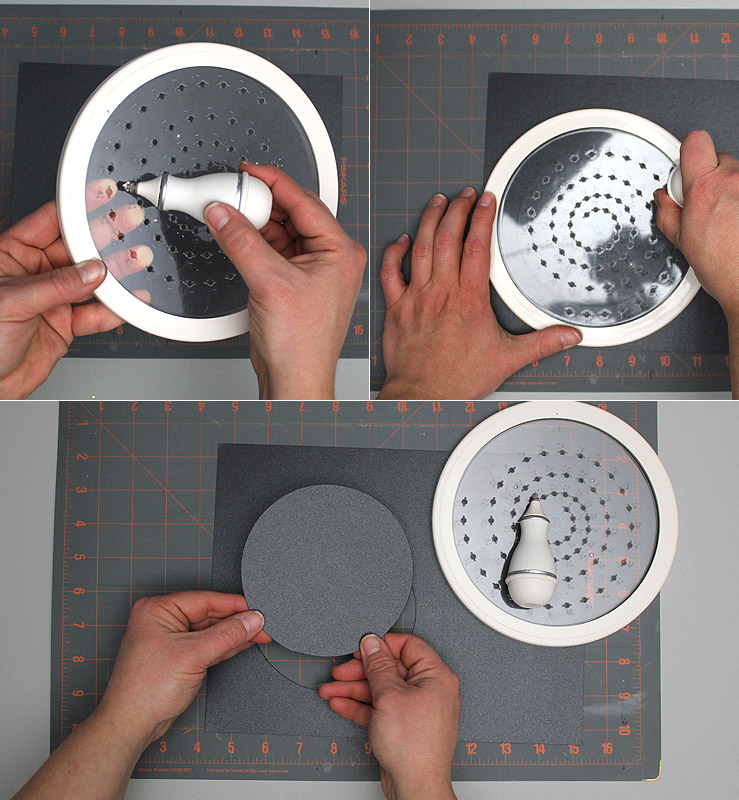
If you like gadgets and want to save a ton of time, get yourself a circle cutter and set it to 4.875″. Simply hold the cutting template to the card and run the included cutting tool around the edge. Hey presto, a perfect circle. You will yield two records per sheet using the circle cutter tool.
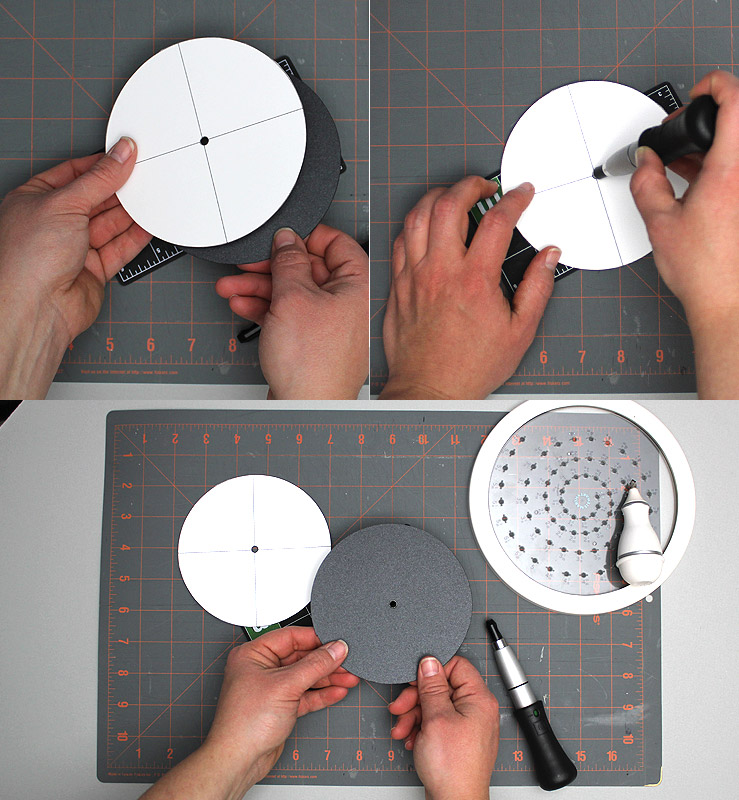
You will still need to punch the center hole with the hole setter.
TIP: You will find this entire process much easier if you engage the help of family and friends (even a scissor wielding-fiancé has no excuse to not pitch in), and form a production line. Give each person one task and work down the line. Have wine and cheese, or beer and pizza, on hand and make an afternoon of it. Perhaps have all the circles cut before too much wine is consumed though, or you may end up with some odd-shaped vinyl.
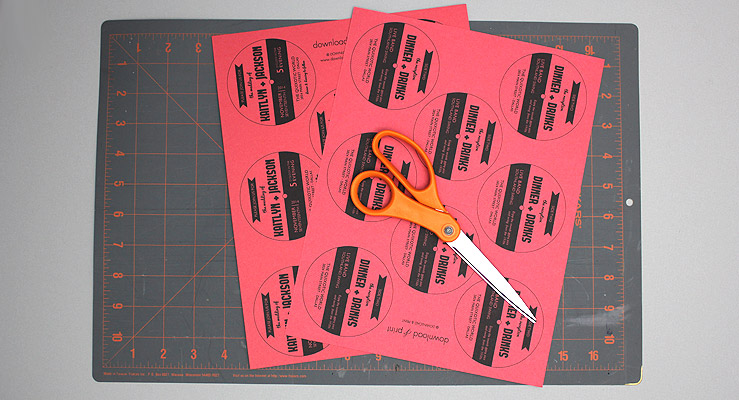
Step 6: Cut labels
Cut out the front and back labels and punch the center hole.
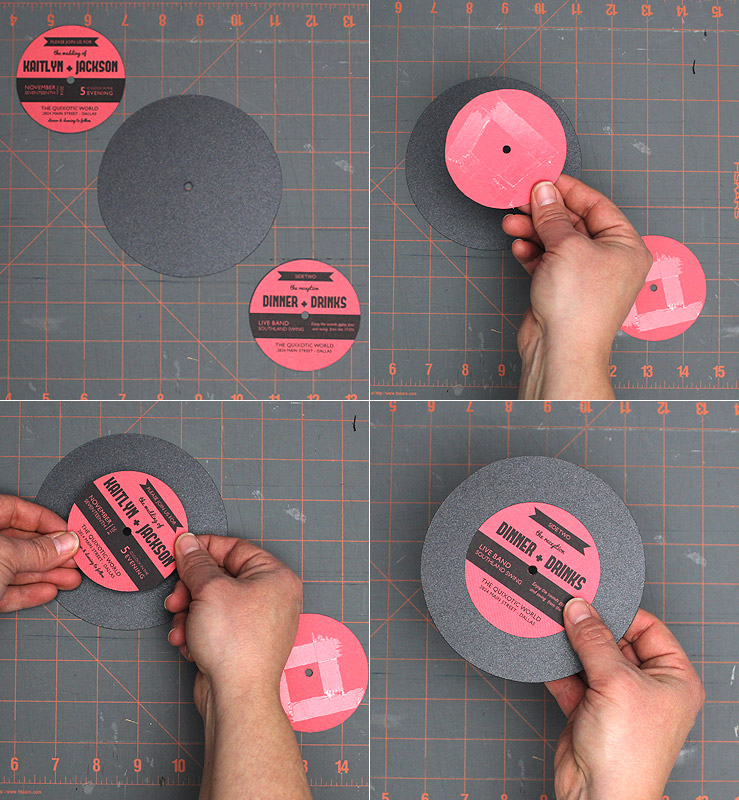
Step 7: Attach labels
Using double-sided tape or a glue stick, attach a front and back label to each record. Use the center hole as your guide.
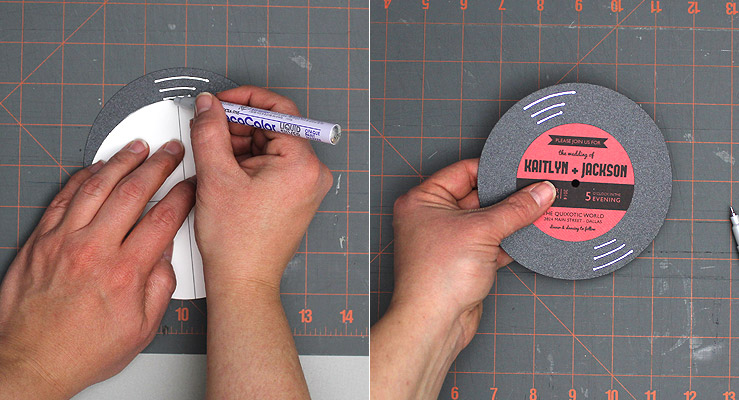
Step 8: Add glare (optional)
Embellish the records with the silver paint pen by adding “glare” lines.
The records are now ready to insert into the sleeve. The whole invitation fits into a 5.5″ square envelope for mailing.
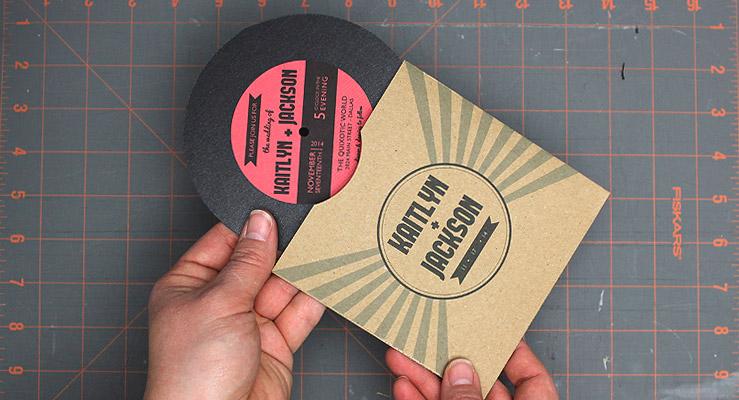
And there you have it. A no-treble tutorial with a rockin' result!


